|
|
|
|
|
|
|
|
|
|
|
|
Knightrous
Site Admin

Joined: 15 Jun 2004
Posts: 8511
Location: NSW


|
One of the issues FarmBoy MK2 had was that it was built in a fashion that it required assembly in a specific order and certain parts were not interchangeable. For example, to replace a drive motor, I would have to remove the whole weapon assembly, remove a front panel, the side panel and any parts bolted to those. This could be anywhere in the 15-20 min range, which is way too slow for repairing between matches. I started to have motors come loose on the gearboxes after the Zoidberg fight, however it would have taken me far too long to dismantle the robot and fix them. Luckily I lost to Kojack and I never got to the point of the drive failure.
Glen and I had a quick discussion on this as I was building the robot, but there wasn't really any time to change the design mid-build to resolve it, so I just ran with it. However, with 3 months till Nationals, this is the time to fix the problem and I have tackled the issue as follows.
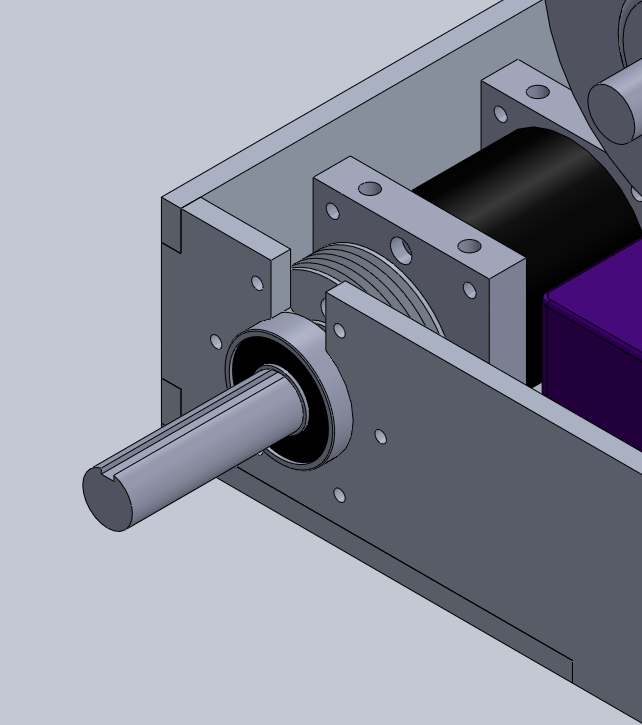
MK2.1 has side panels made of 5mm 5083 aluminium instead of 10mm, this halves the weight and I no longer have to drill and tap everything!
Each panel has a pair of 'Keyholes' cut into them.
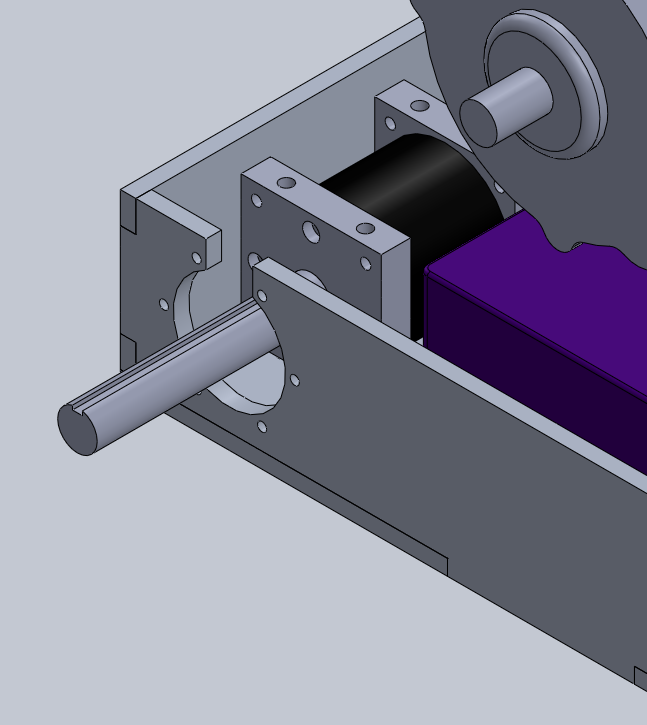
This allows the motors to be unbolted and lifted straight out the top of the robot.
The drive pulleys and support bearings can be fitted onto the robot separately to the drive motor as one unit.
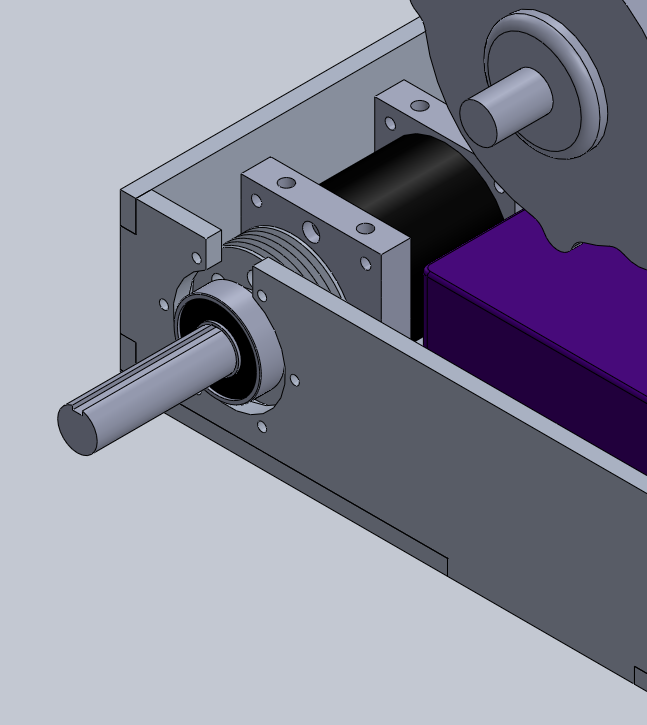
Glen suggested the use of bearing cups that bolt onto the side panels instead of boring pockets and pressing the bearing in. This allows a quick removal of a bearing with just 6 bolts.
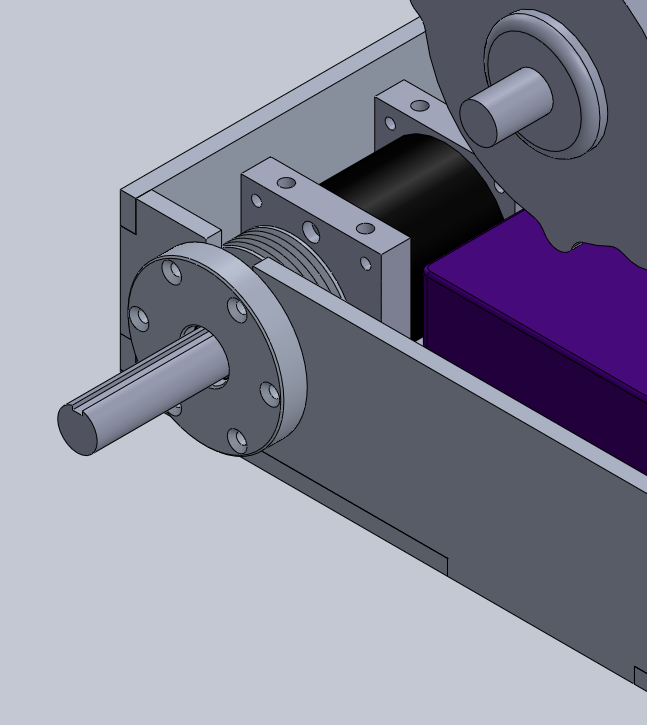
Then the wheel just bolts on as per normal.
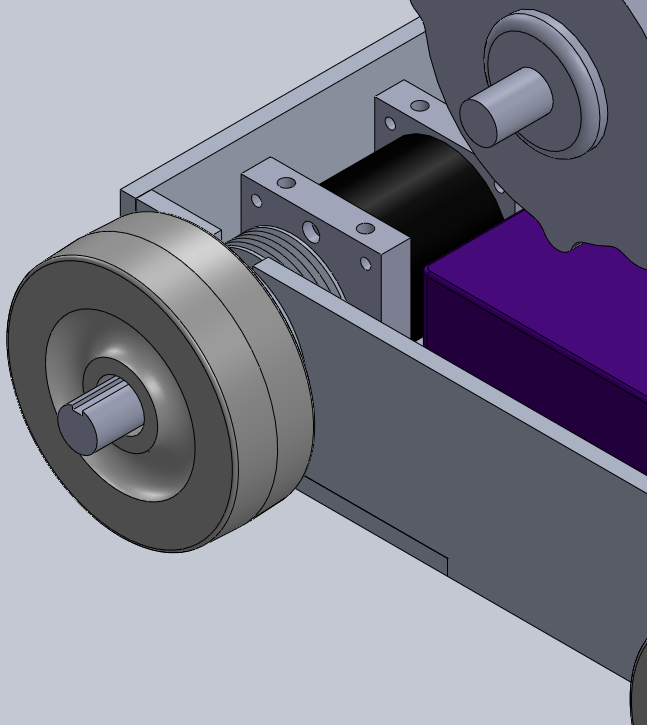
Switching to this design allows the whole robot chassis to be water jet cut and welded. Saving some weight and a whole lot of mucking around compared to the drill n tap chassis.
The next step is to revamp the weapon assembly and look at ditching the chain drive.
_________________
https://www.halfdonethings.com/
|
 Fri Jul 03, 2015 11:43 am
 |
|
|
|
|
|
|
|
|
|
|
|
|
|
|
|
|
|
|
|
|

 RoboWars Australia Forum Index
-> Builders Reports
RoboWars Australia Forum Index
-> Builders Reports