This is an old revision of GluingMotorMagnets from 2012-01-29 23:43:03.
Guide to re-gluing motor magnets
This is not meant to be comprehensive guide on how to do everything, It is provided to give you a specific guide to what is involved in gluing magnets for this specific gearmotor. What works for this specific motor may not for others, so do it at your own risk!
So a common problem to plenty of roboteers and a crippling one at that - magnets falling out of the motor. Unfortunately with the advent of extremely cheap ebay supplied chinese motors, both brushless and brushed this has become more of an issue than in the past with the lower quality motors generally not having the magnets glued into place, causing them to fall out and become pulverised by the spinning rotor. Not good for performance!
This guide is a run down on gluing the magnets into the 1000rpm gearmotor commonly used in beetleweight robots, because they are probably the most failure prone motor when it comes to the magnets coming off despite being well suited to beetleweight drives when fixed.
*link goes here*
What you’ll need (at a minimum):
- 1000rpm ebay gearmotor. NOTE - there are two types of motor that are different, the procedure is the same but just be aware of it.
- Thick paperclips
- Fine Phillips Head Screwdrivers
- An old razor blade
- JB weld adhesive (do not use anything else)
- Paper towels
- Wax and grease remover
- plastic rod of suitable size (see process for details)
- small gear puller
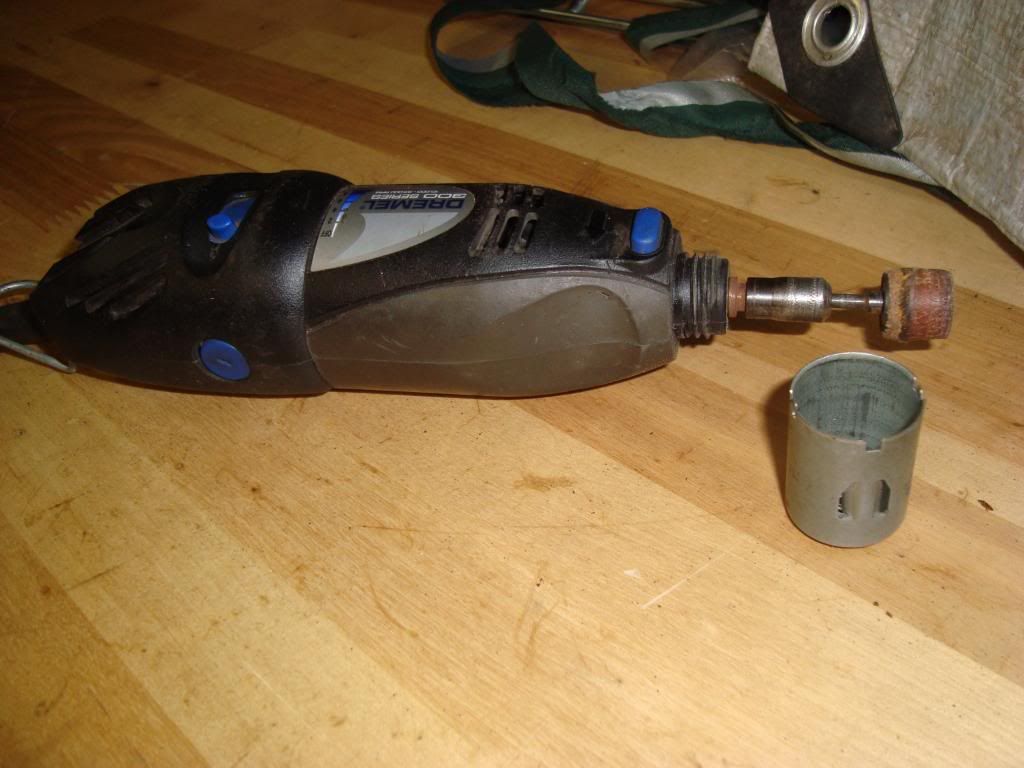
- Dremel type tool with sanding drum
Procedure
1) Remove gearbox with the two screws on the faceplate , being careful not to loose the small spacers on the open side.
2) Remove the motor faceplate with the two screws.
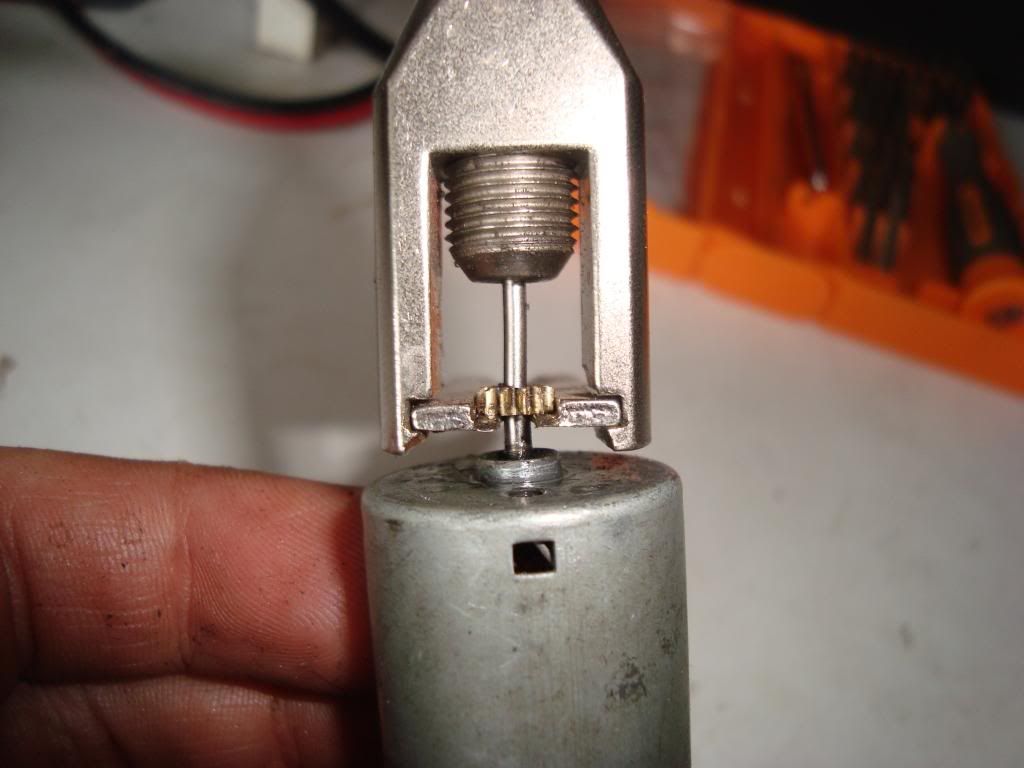
3) With your gear puller, remove the motor pinion gear. Be careful to use the correct pin on the puller (the smallest one)
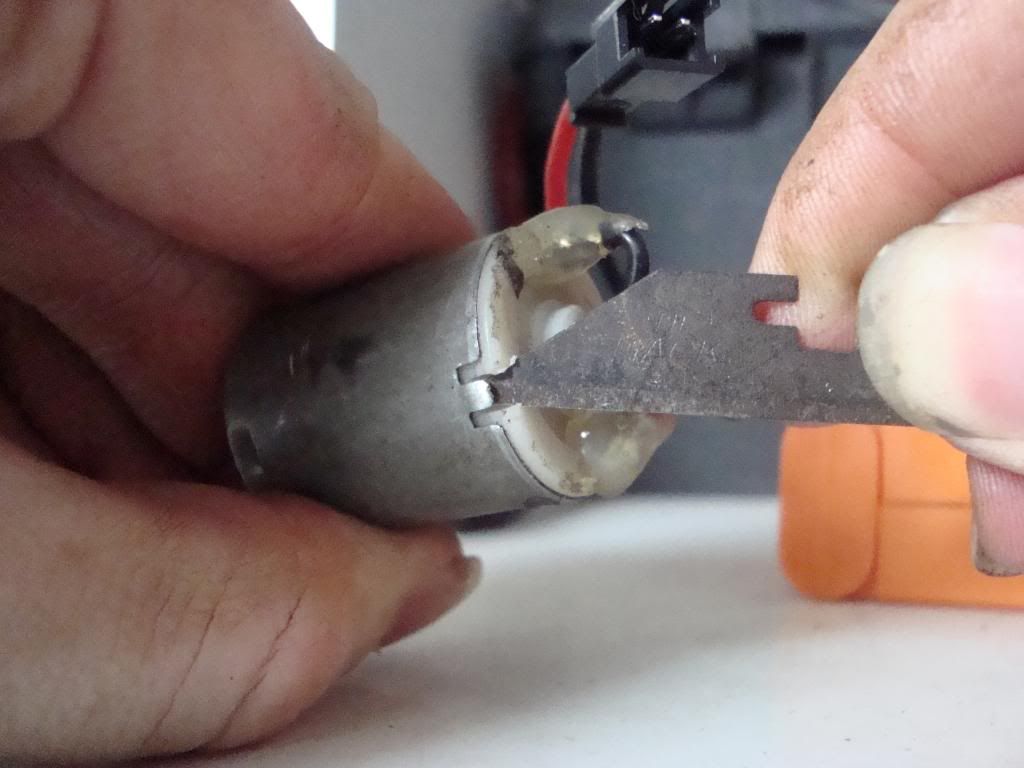
4) Flipping the motor over use your old razor or a sacrificial small flatblade screwdriver to open up the tabs holding the plastic end bell on. Don't over do it! Just bend them enough so you can wiggle the end bell out. Be careful if you use a razor because the end may snap off, so wear safety glasses please.
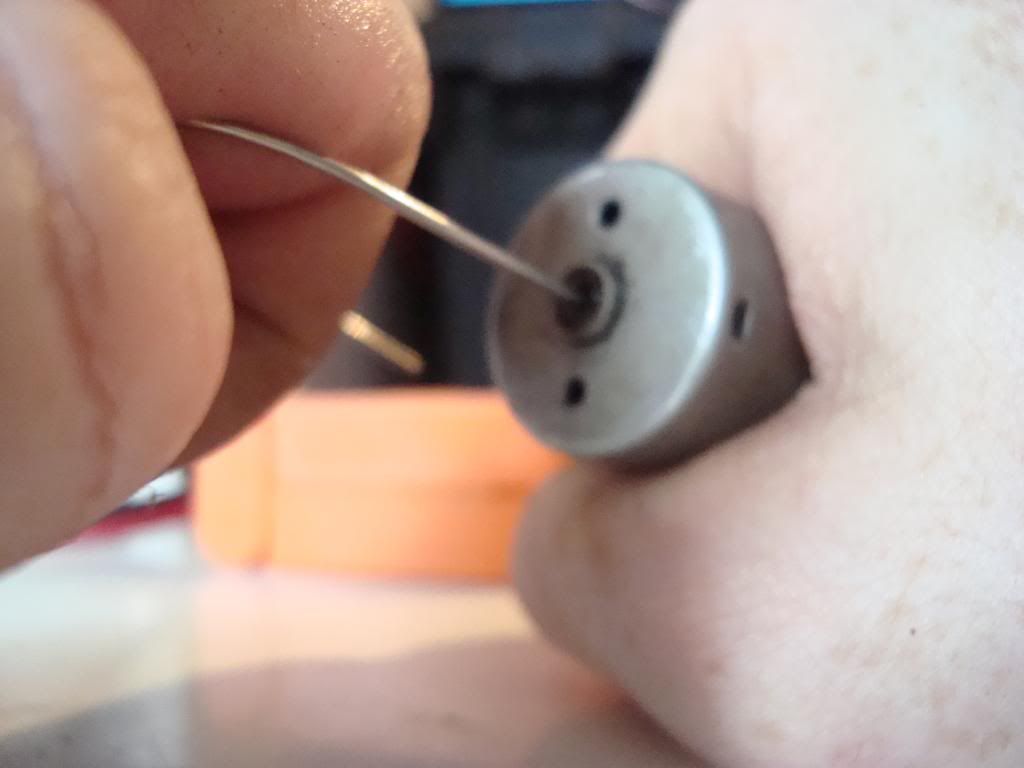
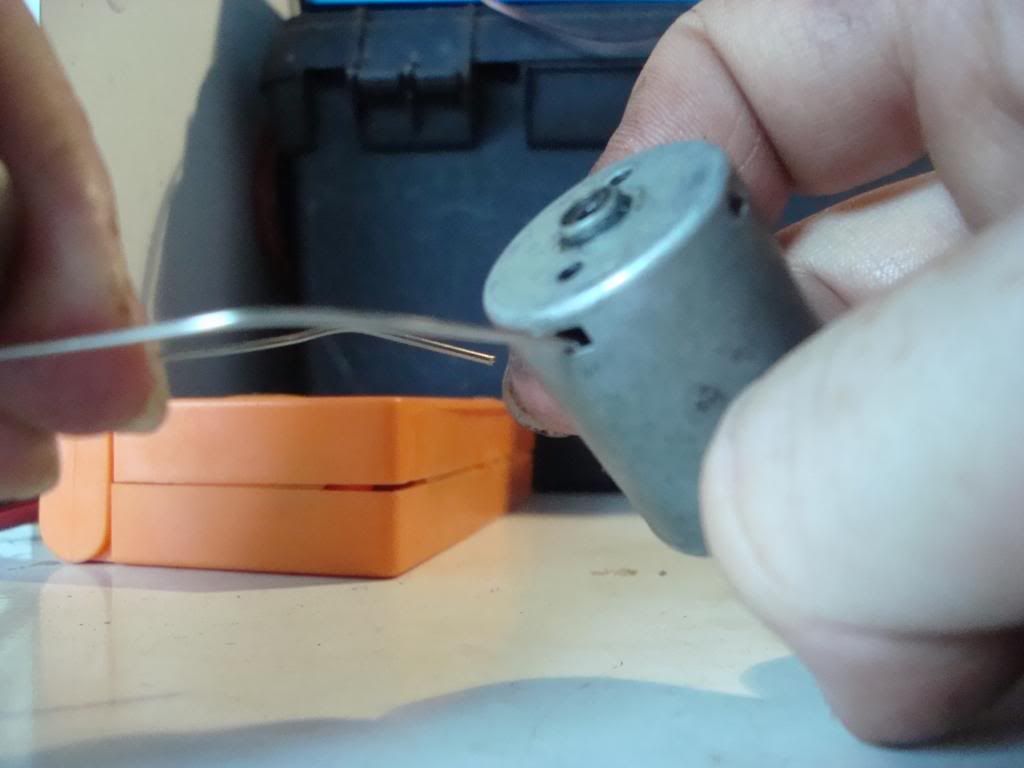
5) The end bell should now be free to come out. To avoid damaging the brush assembly its best to push the rotor out thus pushing the endcap off too. Do this by pressing the end of the shaft out of the motor can using a thick paper clip and set them aside.
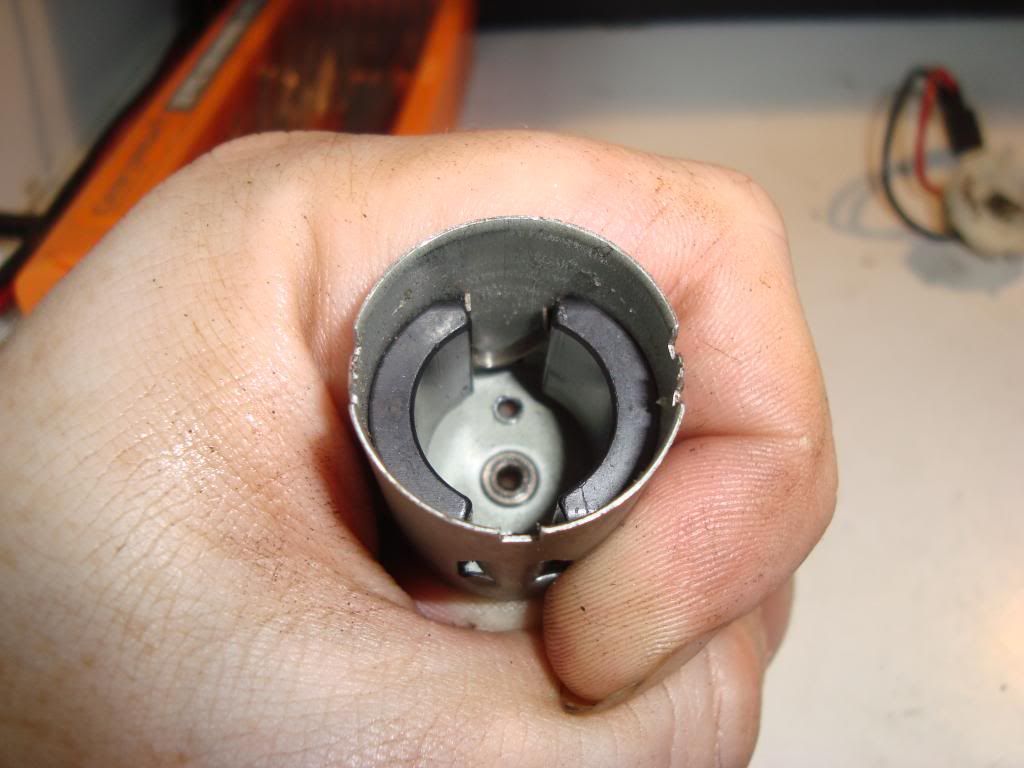
6) The magnets are now accessible, but first you need to remove the spring clip between them. The best way to do this is to use the paper clip to push it out most of the way via the square slot in the can, and then grab the legs with pliers to remove it all the way once its pushed out far enough. You can then slide the magnets out with your fingers. Notice how easy they come out! EEK!
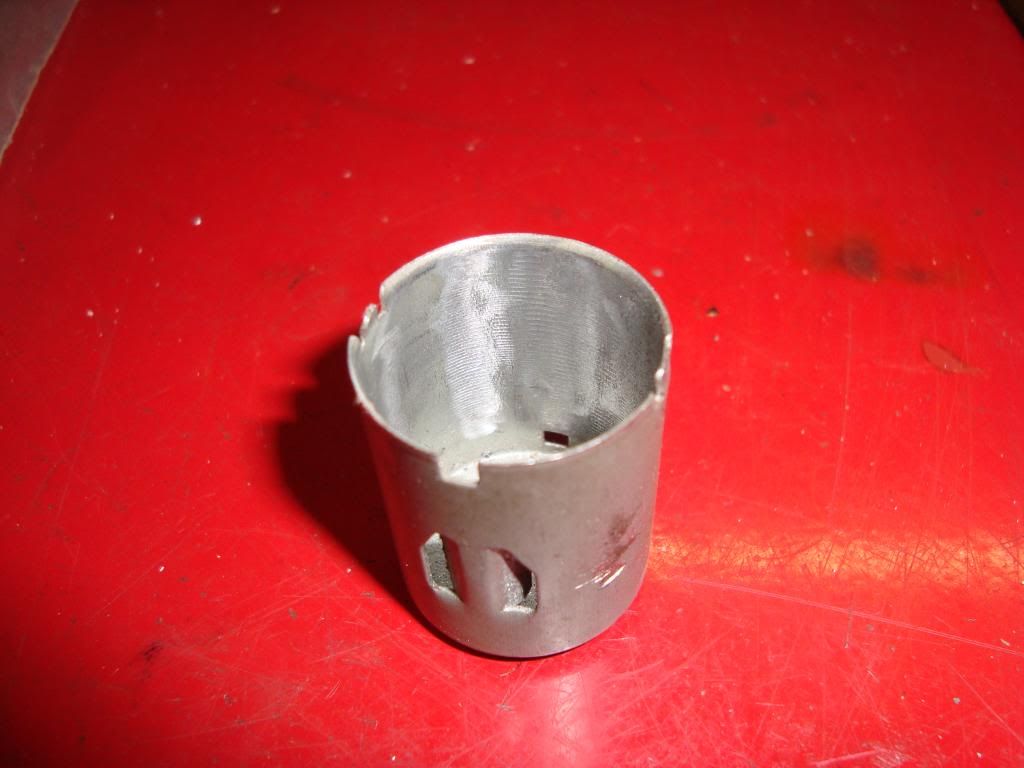
7) Now we start preparing the motor for gluing. With our dremel we sand the inside of the motor can, just enough to scuff it up so the glue will adhere better.
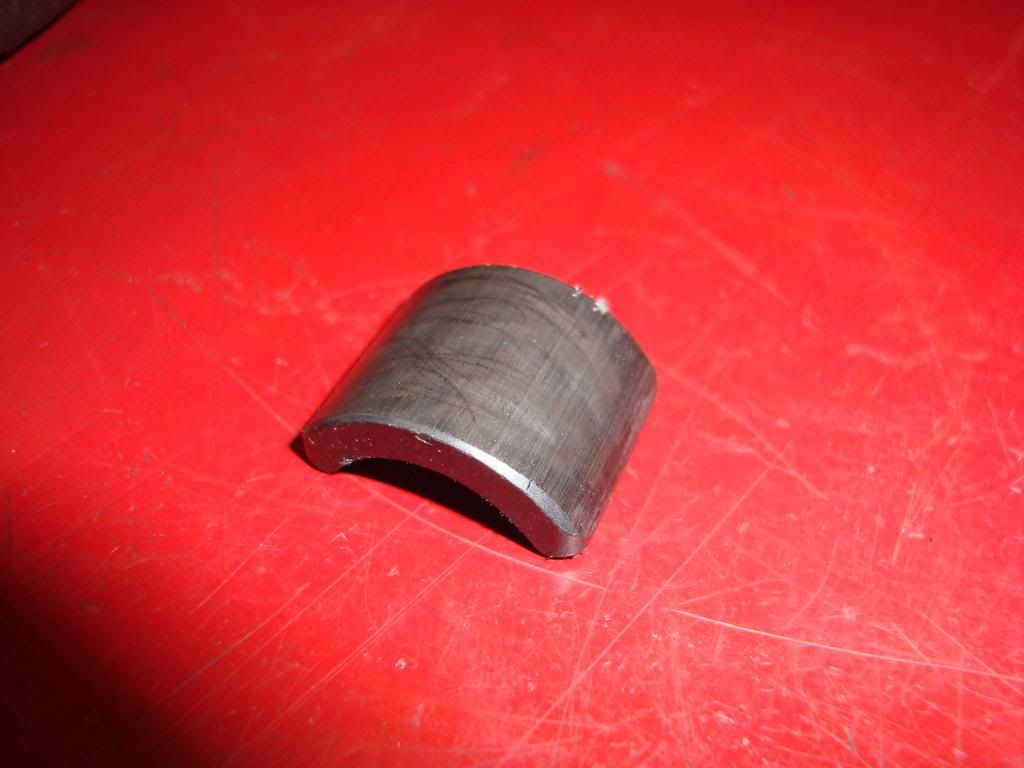
8) Do the same with the magnets. Sticking them to a piece of clean steel will hold them down adequately. DO NOT press hard on the magnets or you will break them, although they do seem surprisingly strong.
9) Next with some paper towels and grease n' wax remover we clean the inside of the motor can and the magnets scrupulously
There are no comments on this page. [Add comment]