Glen
Experienced Roboteer

Joined: 16 Jun 2004
Posts: 9481
Location: Where you least expect


|
Right-o, Having an extended break from everything while battling turbo flu so progress is slow.
The plan is to spend time getting each axis perfect before moving to the next. Being a chinese machine there is plenty of trimming and adjusting to get it all in without having to bend anything.
Y-AXIS
As expected the mounting holes weren't anywhere near correct, eek!
Thankfully, having access to a 2nd mill at work makes the job tolerable. Just slotted them both out and that was sorted.
Things started to get shakey after this.. the two bearings in the Y axis mount were totally crunchy and impossible to turn. Tried to give them a gentle tap in case they'd been pressed together too tight but turns out that wasn't the case. Of course there was no room in the mount to push the crush tube aside to belt out the bearings, meaning removing them was a nightmare!
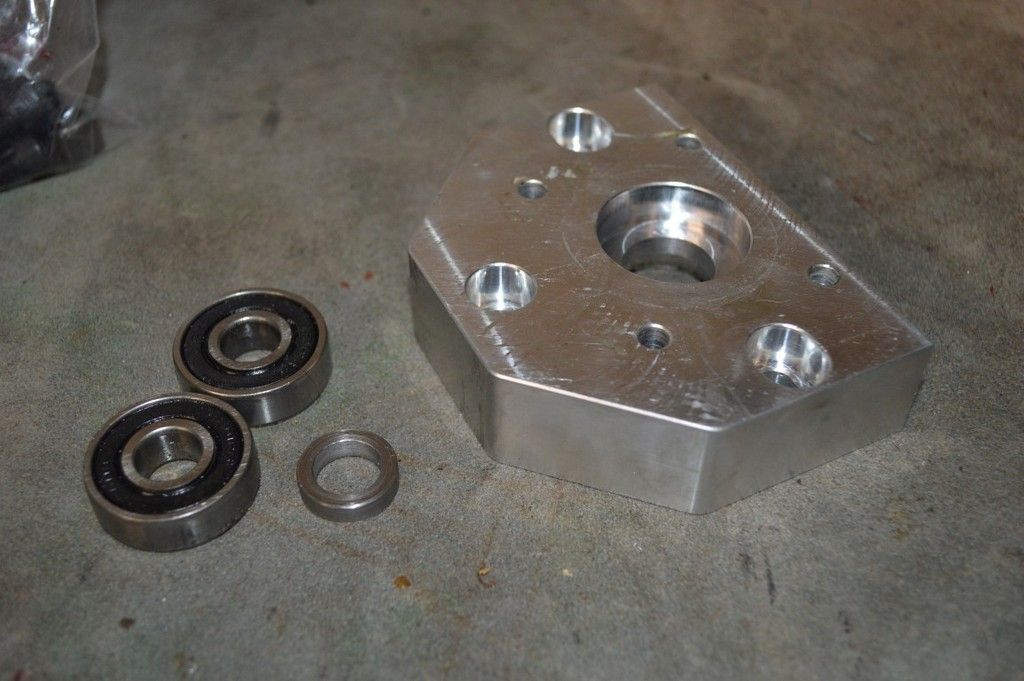
In the end, the entire mount went into the oven at 150c to expand the ali, usually the bearings will fall out. Not this time... took about half an hour of pounding with a huge centerpunch to get them out, those bores are way too tight! So those bearings and the crush tube were now knackered. Fortunately replacement bearings from SKF were only $5 on RS and they came the next day.
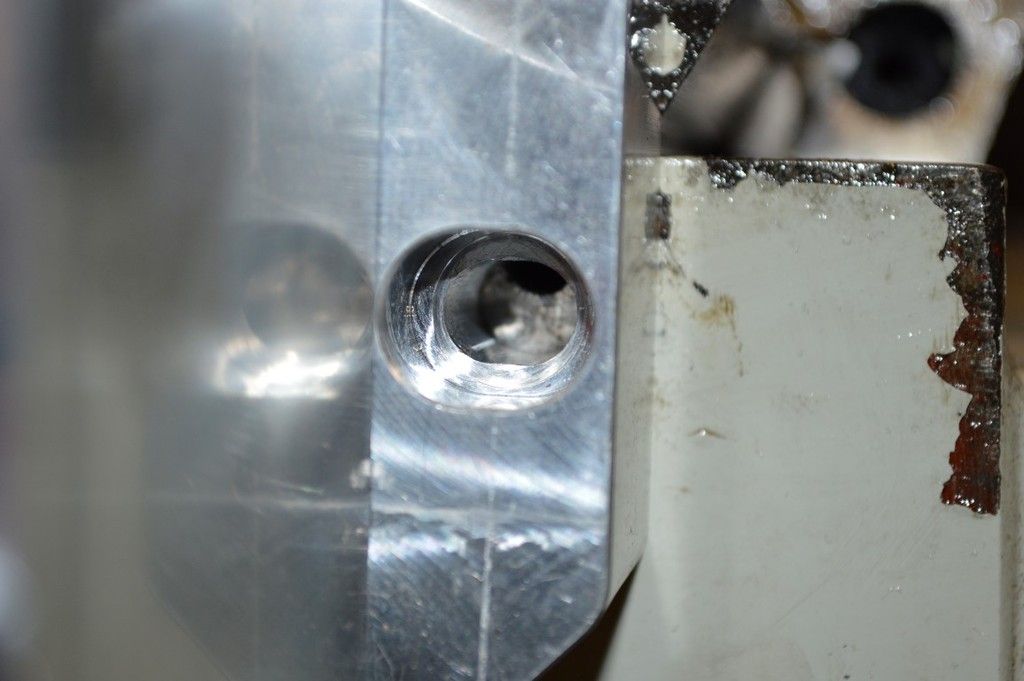
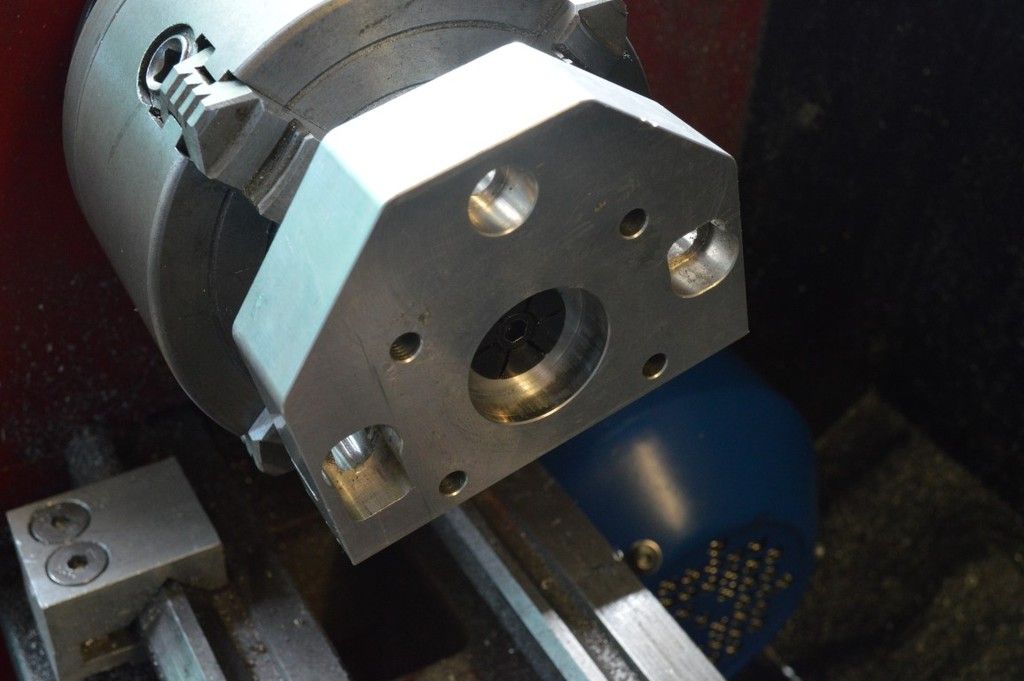
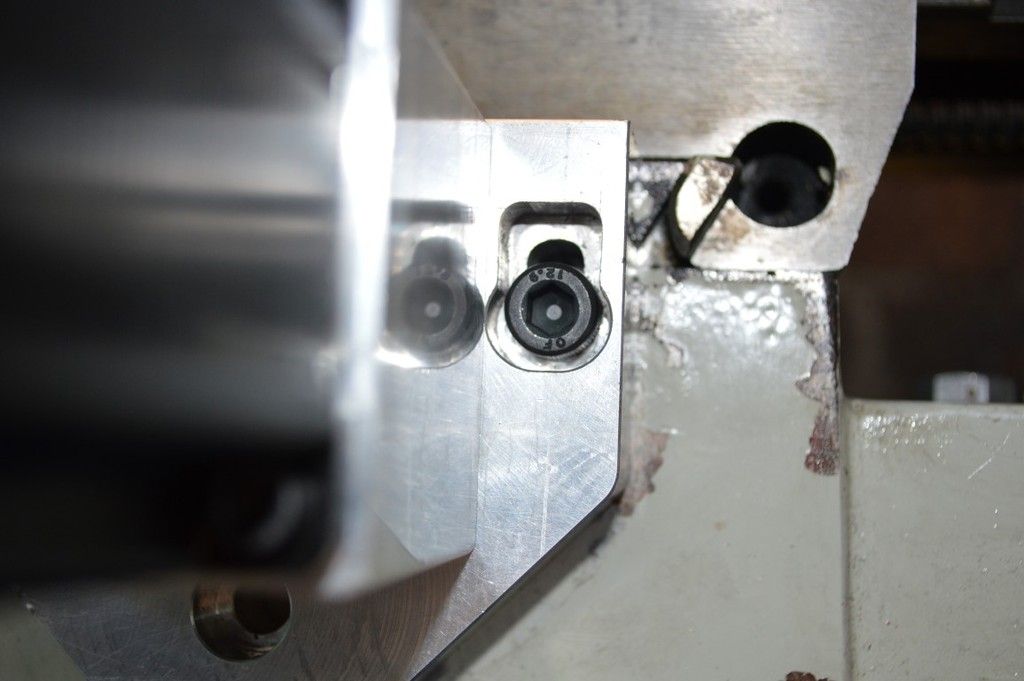
Here's is part of the reason why the bearings were so hard to get out - this is the crush tube.
There's no room to push it aside so you can hit the bearing itself out. It just stays flush with the inner bore of said bearings. ugh. annoying.
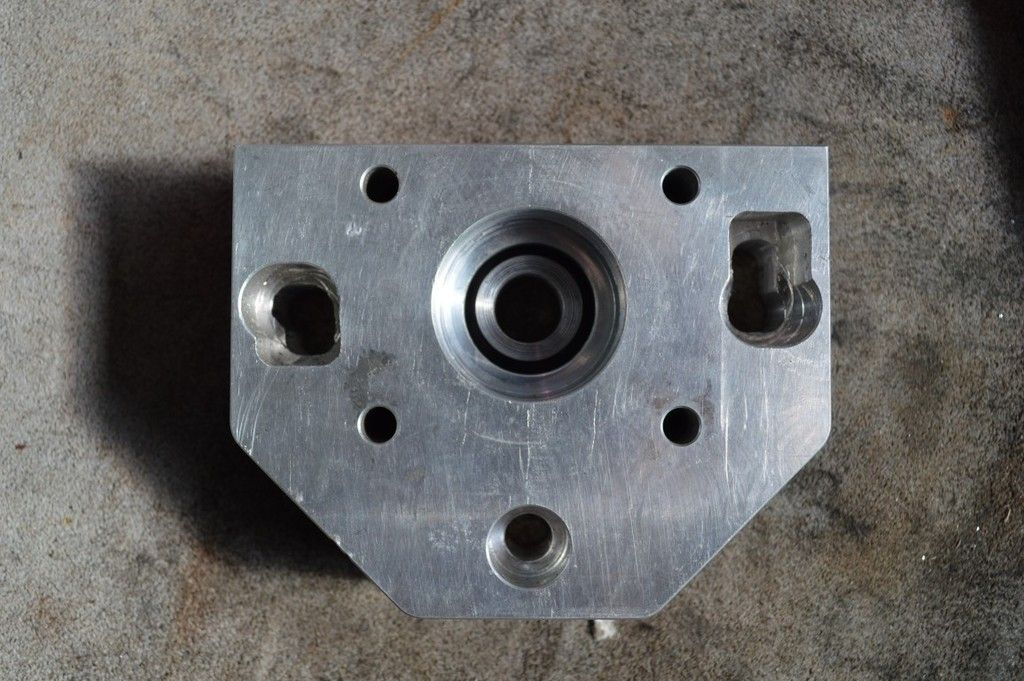
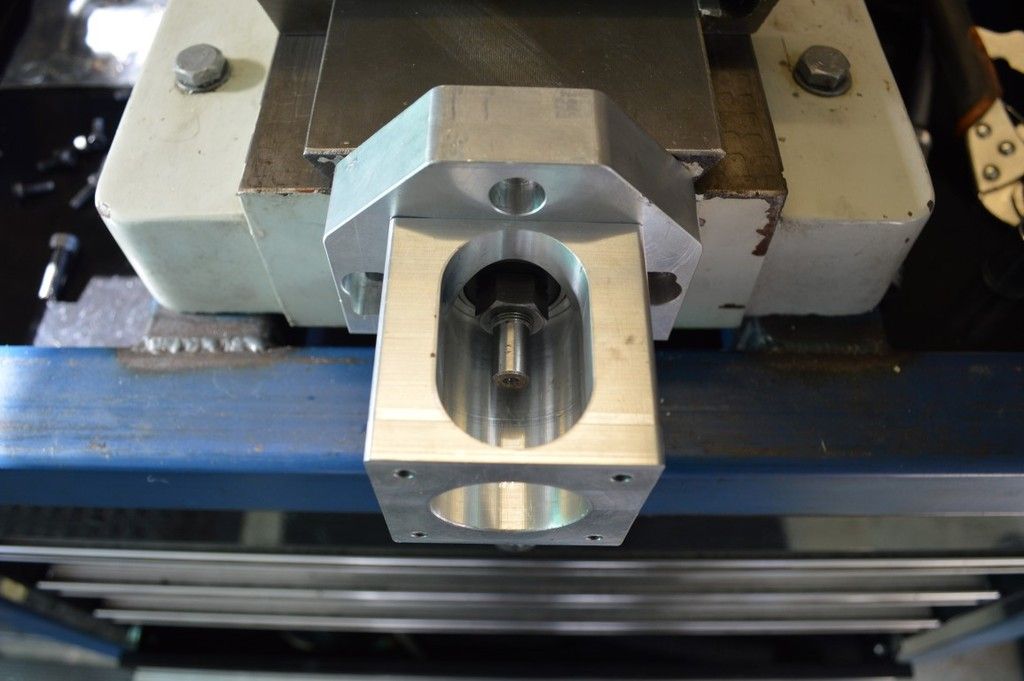
As you can see in the 2nd picture a new spacer got made of proper dimensions. Turns out the bores weren't too small just tapered at the bottom by a thou or so, enough to compress the bearings in and make them sieze. The other side is aligned via the use of an expanding mandrel. Did the job well!
With that done the y axis ballscrew had to get chopped to length as it's supplied too long to facilitate some different variants of this mill. What a depressing thing it is to angle grinder an expensive ballscrew. But oh well 
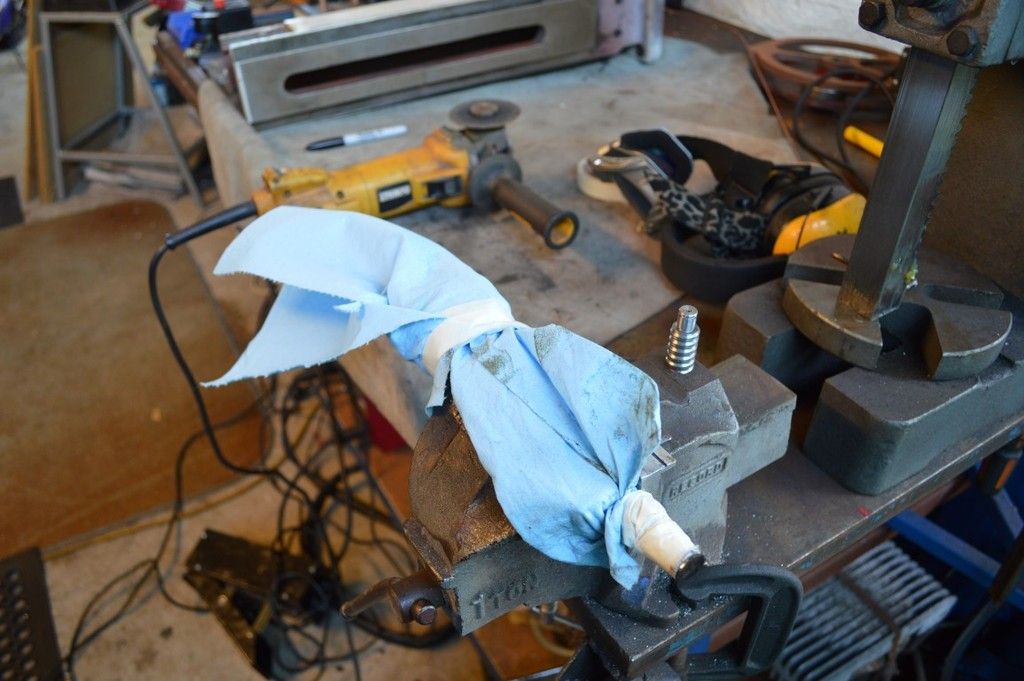
Ballscrew in with the retaining nut. I'll get some pics tommorow of it all together with the stepper.
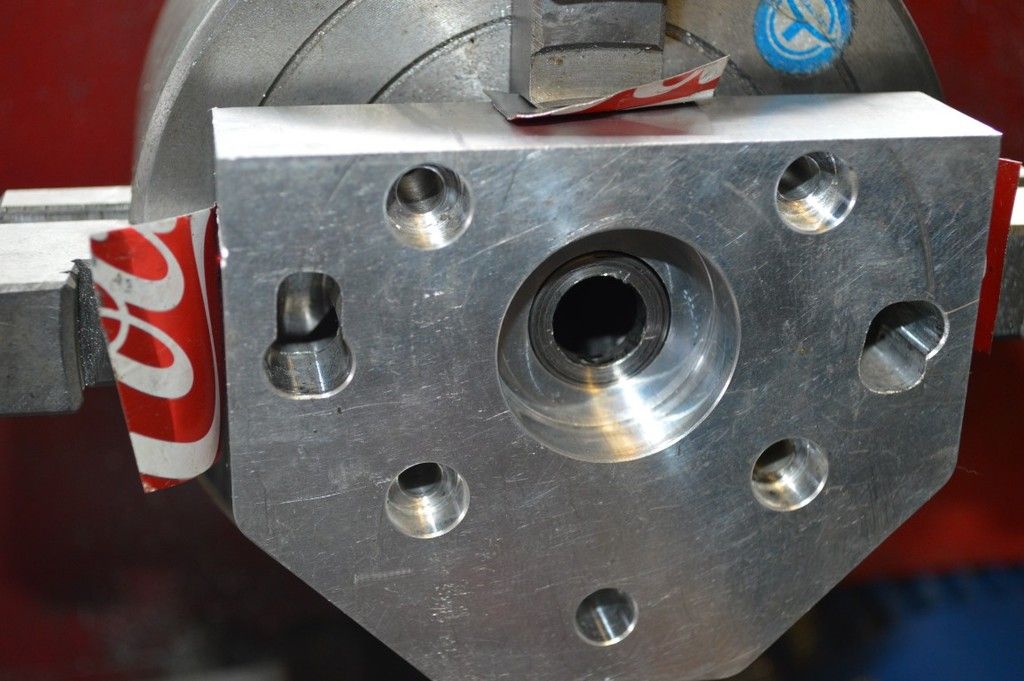
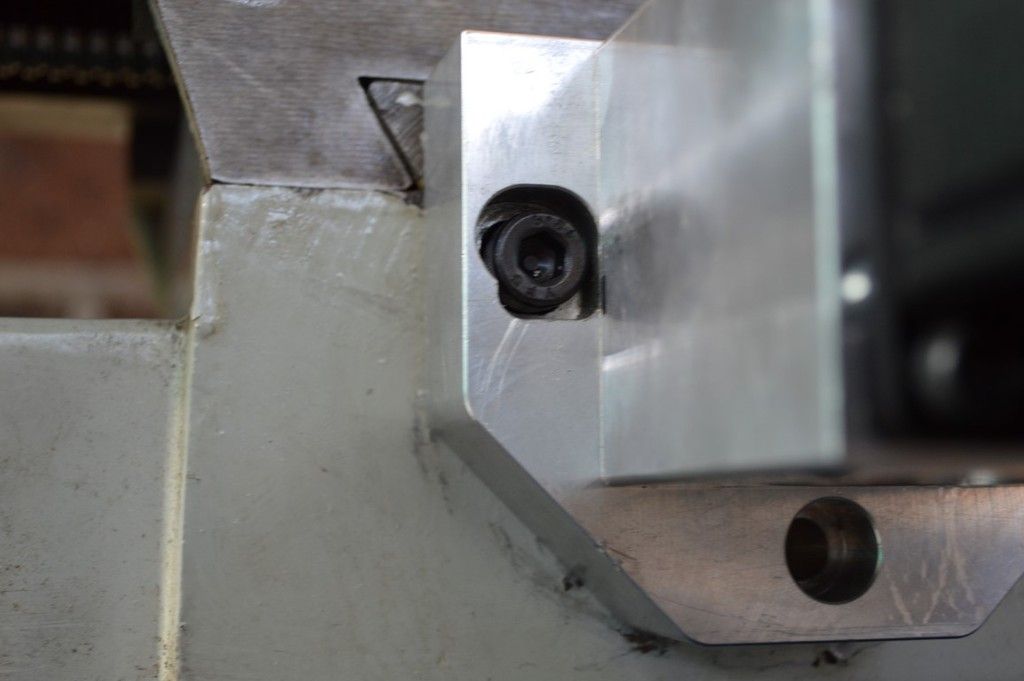
This is how out the bolt holes were. Not a huge amount really, but enough that not having a second mill would make this a pain in the butt.
Next is the X axis - that is mostly together now bar some slight adjusting, definitely going better than the Y did thus far lol.
Also studying up on home switches. Lots of pro's and con's for all the different types but the inductive switches do sound nice, will likely grab some of those to play around with and see how they fare.
_________________
www.demon50s.com - Minimoto parts
http://www.youtube.com/user/HyzerGlen - Videoooozzz
|

 RoboWars Australia Forum Index
-> Technical Chat
RoboWars Australia Forum Index
-> Technical Chat

