www.robowars.org

RoboWars Australia Forum Index -> Builders Reports

Team Demon Robots - NSW
Goto page Previous  1, 2, 3 ... 92, 93, 94 ... 113, 114, 115  Next

Post new topic   Reply to topic
  Author    Thread
assassin


Joined: 27 Jun 2004
Posts: 1105
Location: SunshineCoast


 Reply with quote  

quote:
Originally posted by Knightrous:
Remember to turn the gas on with the flipper in the up position and do the same thing when you vent the gas out of the system (Otherwise the flipper will fire... Hey Stevo!)


Not true, but I would open the main CO2 valve slowly.
_________________
Imagination is more important than knowledge. Knowledge is limited. Imagination encircles the world.
Albert Einstein.

Post Mon Jul 01, 2013 4:51 pm 
 View user's profile Send private message Send e-mail
marto
Experienced Roboteer


Joined: 08 Jul 2004
Posts: 5459
Location: Brisbane, QLD


 Reply with quote  

Depends how you route gas. But yes it can....
_________________
Steven Martin
Twisted Constructions
http://www.botbitz.com

Post Mon Jul 01, 2013 4:55 pm 
 View user's profile Send private message Send e-mail MSN Messenger
Glen
Experienced Roboteer


Joined: 16 Jun 2004
Posts: 9481
Location: Where you least expect


 Reply with quote  

Lol, i look foward to the day i have this setup complete enough to worry about such things D:
_________________
www.demon50s.com - Minimoto parts
http://www.youtube.com/user/HyzerGlen - Videoooozzz

Post Mon Jul 01, 2013 5:42 pm 
 View user's profile Send private message Send e-mail Visit poster's website MSN Messenger
assassin


Joined: 27 Jun 2004
Posts: 1105
Location: SunshineCoast


 Reply with quote  

Don't worry it can't hurt...
_________________
Imagination is more important than knowledge. Knowledge is limited. Imagination encircles the world.
Albert Einstein.

Post Tue Jul 02, 2013 7:15 am 
 View user's profile Send private message Send e-mail
Glen
Experienced Roboteer


Joined: 16 Jun 2004
Posts: 9481
Location: Where you least expect


 Reply with quote  

Right well, got shafted by another ebay seller, thats the third time in 3 months :/ what's happened to ebay lately?

Anyway did a chargeback and got my moneys. As it turns out theres a great paintball store in Rouse hill just near my place, so i went out and grabbed two bottles. Very reasonably priced too.

Turns out he gave me full bottles for the empty price. Not bad Smile These ones might even be bigger than the standard 20oz tanks as well, IIRC those have a fill weight of 600g, these appear to be 740g. Best of all he had 1000psi burst disks, so i wont need a seperate PRV which looks like a major prick to find and lotsa $$, and also had lots of lengths of braided 3500psi hose with 1/2" bsp fittings, perfect!


Best go finish that ram off after i'm done with works.. work lol Razz
_________________
www.demon50s.com - Minimoto parts
http://www.youtube.com/user/HyzerGlen - Videoooozzz

Post Fri Jul 05, 2013 4:34 pm 
 View user's profile Send private message Send e-mail Visit poster's website MSN Messenger
maddox


Joined: 21 Dec 2006
Posts: 786
Location: Belgium


 Reply with quote  

0.82L volume... 0.74kg tarra.
It should surprise me if those bottles are more than 600 grams CO2 capable.

Post Fri Jul 05, 2013 4:56 pm 
 View user's profile Send private message Send e-mail Visit poster's website MSN Messenger
Glen
Experienced Roboteer


Joined: 16 Jun 2004
Posts: 9481
Location: Where you least expect


 Reply with quote  

Most likely, they're the same physical size as the black standard style. BTW what are you guys using as a pressure relief valve or do you also just use a 1000psi burst disk on the tank?
_________________
www.demon50s.com - Minimoto parts
http://www.youtube.com/user/HyzerGlen - Videoooozzz

Post Fri Jul 05, 2013 4:58 pm 
 View user's profile Send private message Send e-mail Visit poster's website MSN Messenger
maddox


Joined: 21 Dec 2006
Posts: 786
Location: Belgium


 Reply with quote  

I don't have a link for the PRV atm, should be on the FRA forum in several threads.

But most use a PRV. The only burst disk are on the bottles, way above 1000psi.

Also, after all those years, I have my doubts that a 1000PSI PRV has any use on a CO2 setup. Even with an overfilled , warm CO2 bottle on the edge of blowing the burst disk, you open the valve, and the overpressure just "evaporates" in the system in the robot. Any expansion room will lower the pressure.

Post Fri Jul 05, 2013 10:40 pm 
 View user's profile Send private message Send e-mail Visit poster's website MSN Messenger
Glen
Experienced Roboteer


Joined: 16 Jun 2004
Posts: 9481
Location: Where you least expect


 Reply with quote  

Yeah, these are an after market burst disk rated to 1200psi (just read the label then, got it wrong first time) Cost quite a bit more than the standard ones they had (3k and 5k), strangely i havent found them online, only the 1800psi variety.

And indeed about the PRV. I did brush across an FRA thread that said it was to stop competitors running more than 1000psi for more power (don't know how you could manage it without bottle heaters etc?) But have to keep the safety man happy Razz

Also want to ask as well, what ways can you use to stop liquid co2 from the main tank flowing into the buffer/ram aside from inclining the bottle. My system will probably have a bit of coiled hose from the main tank into the buffer/manifold so not sure if that will stop it. Maybe its just something that is unavoidable?

Thanks Smile
_________________
www.demon50s.com - Minimoto parts
http://www.youtube.com/user/HyzerGlen - Videoooozzz

Post Fri Jul 05, 2013 10:46 pm 
 View user's profile Send private message Send e-mail Visit poster's website MSN Messenger
maddox


Joined: 21 Dec 2006
Posts: 786
Location: Belgium


 Reply with quote  

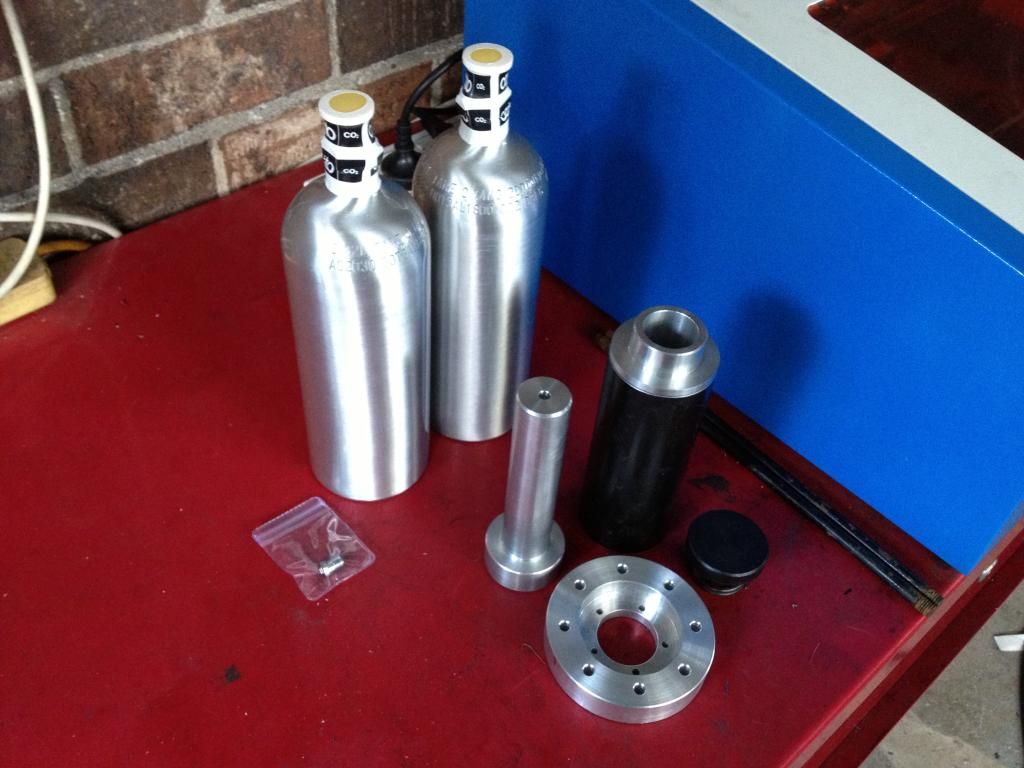
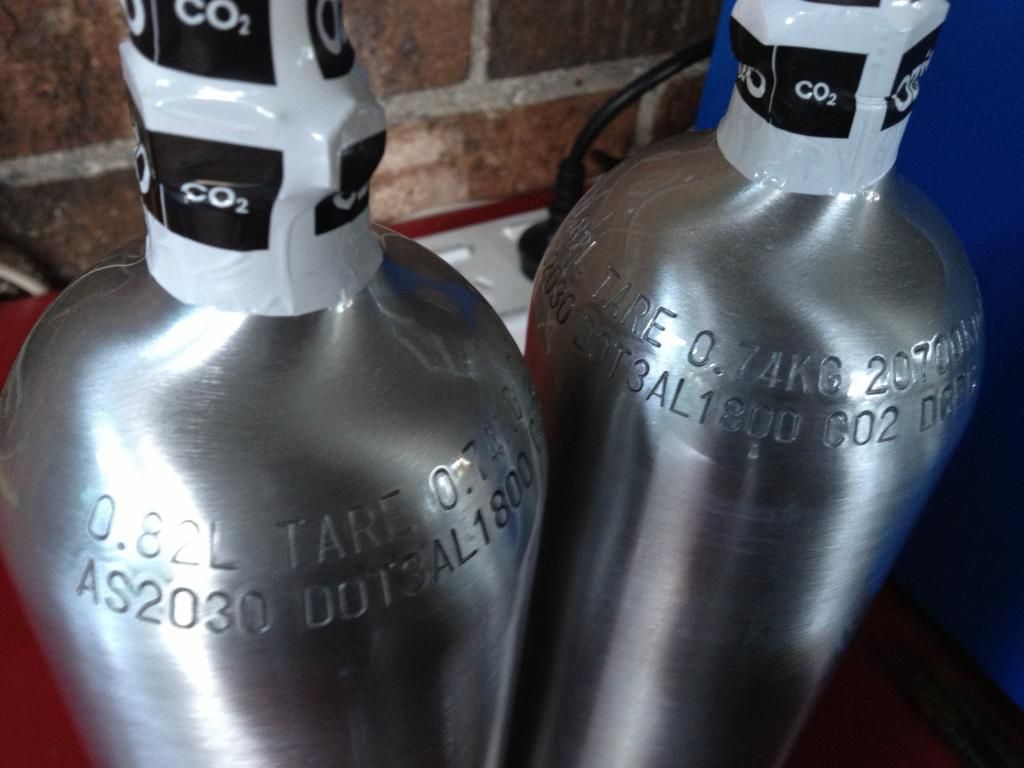
People try a lot of different things to avoid liquid CO2 in the system, especialy the LP users.

I myself combat the problem by combining a few things.

In line buffertank. If that is large enough, you don't have to worry

Flow restriction between bottle and buffer. Because we use single acting setups, we have a few seconds to fill the buffer, giving the CO2 time to evaporate in the narrow infeed line.

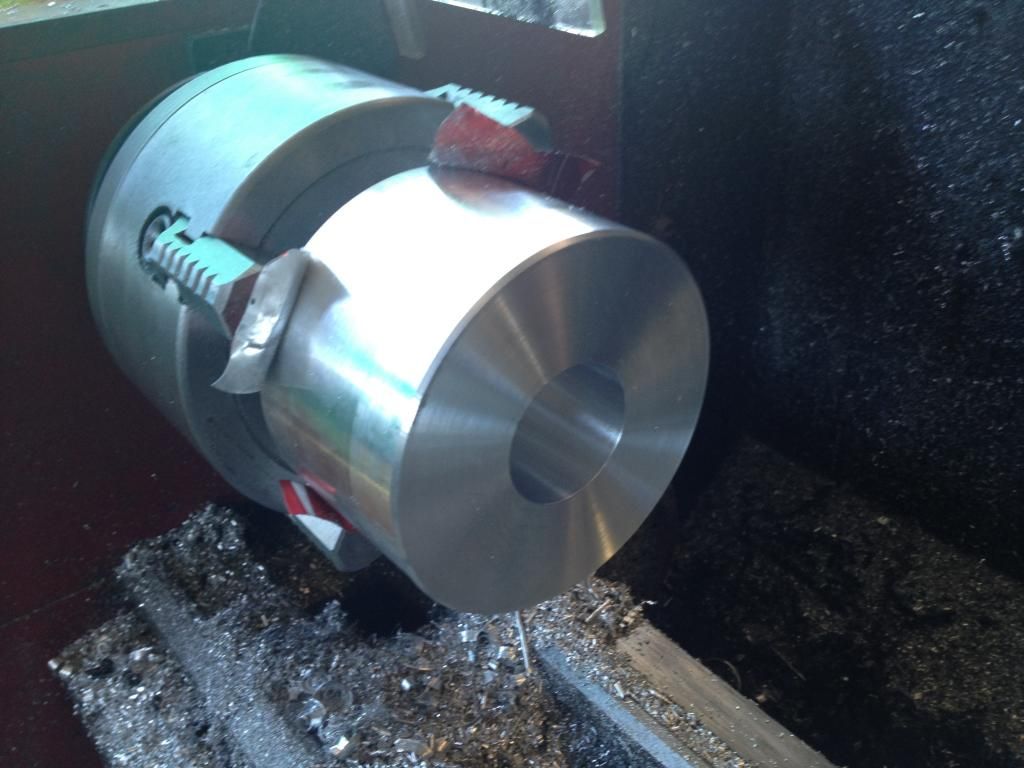
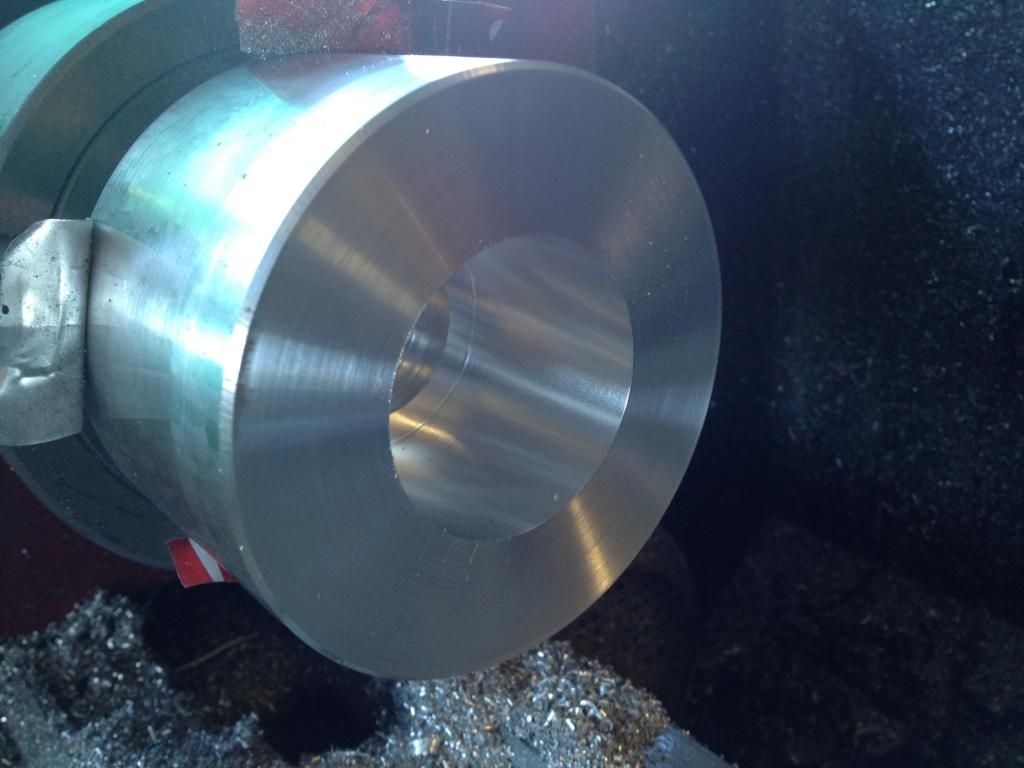
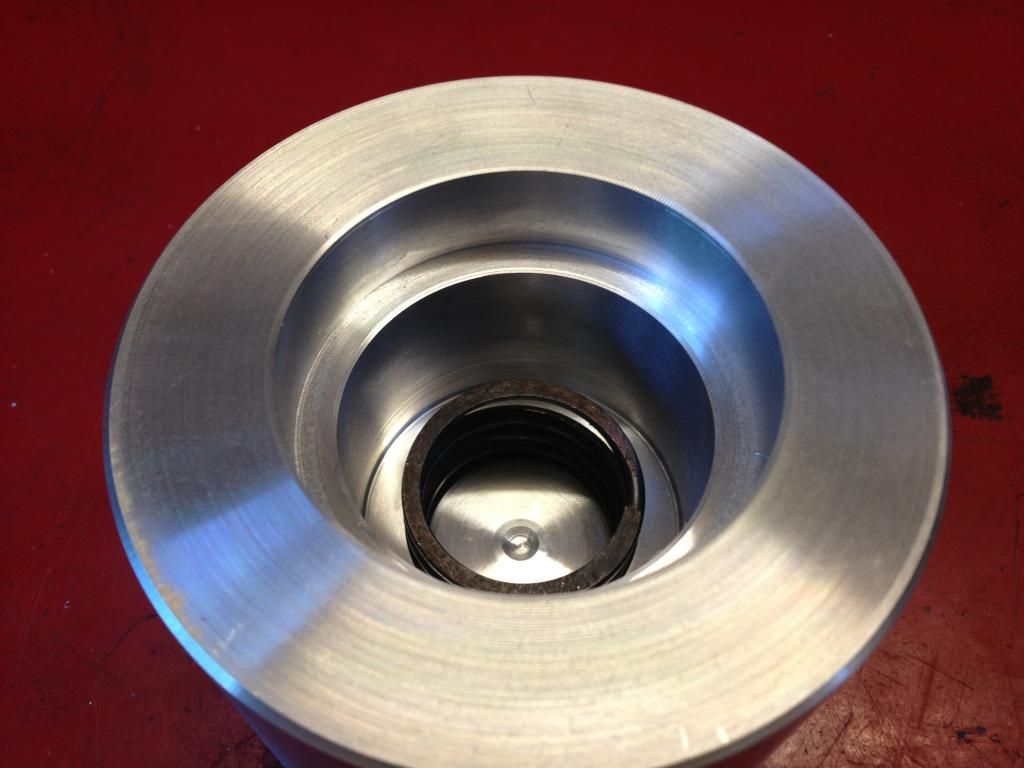
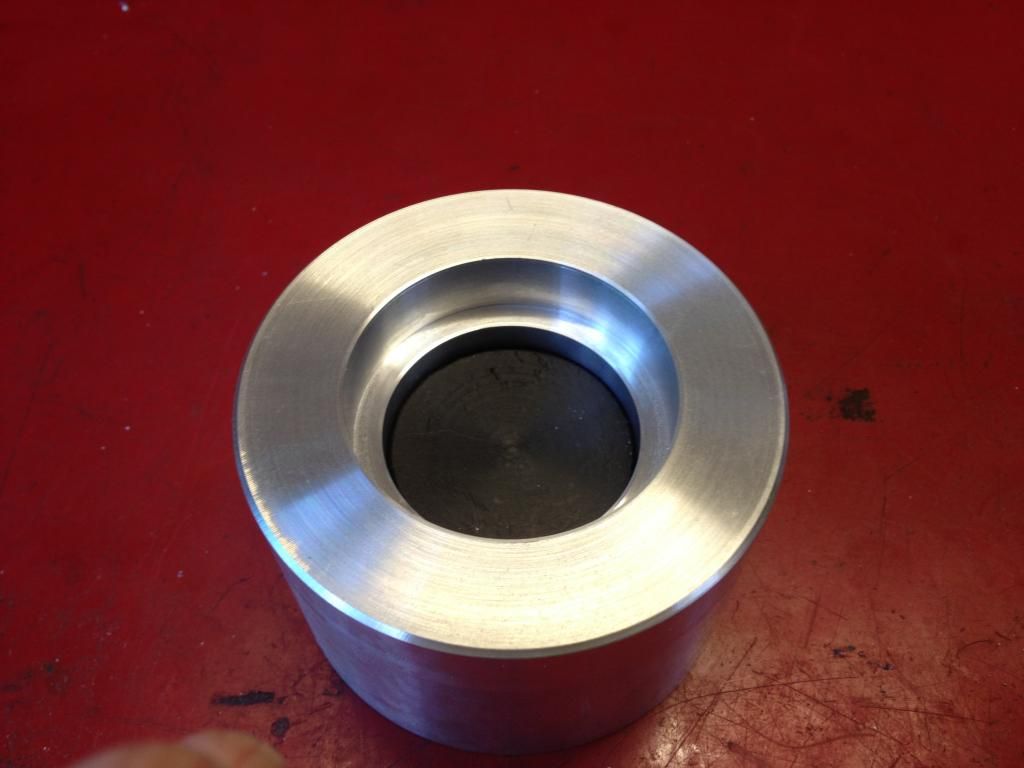
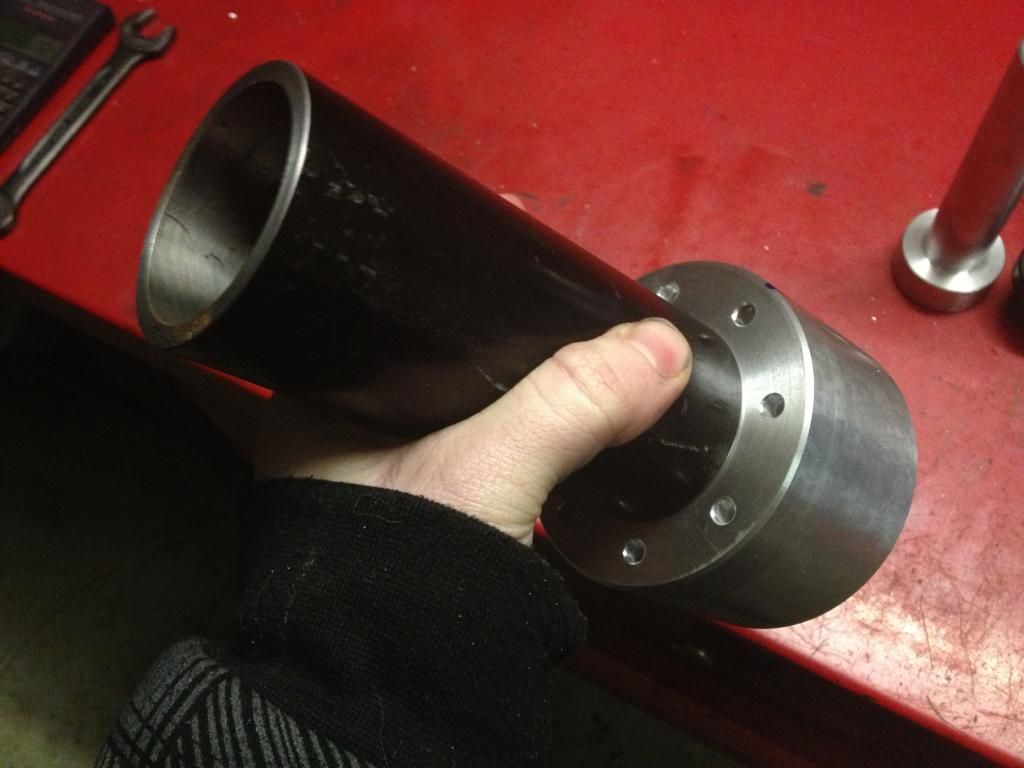
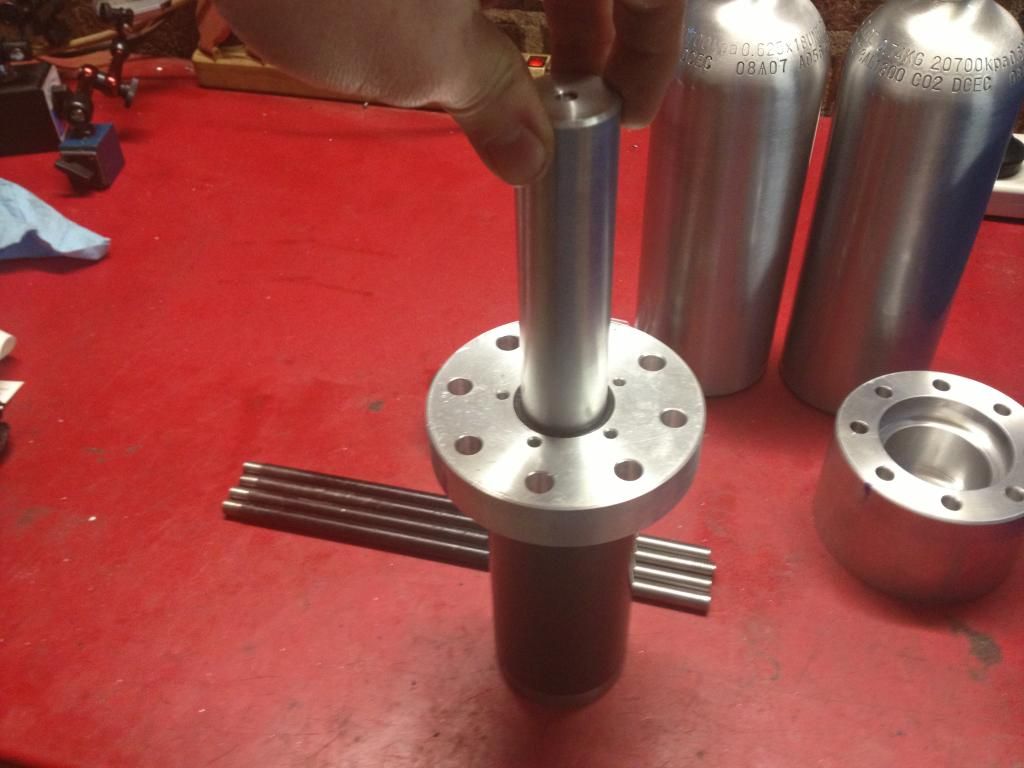
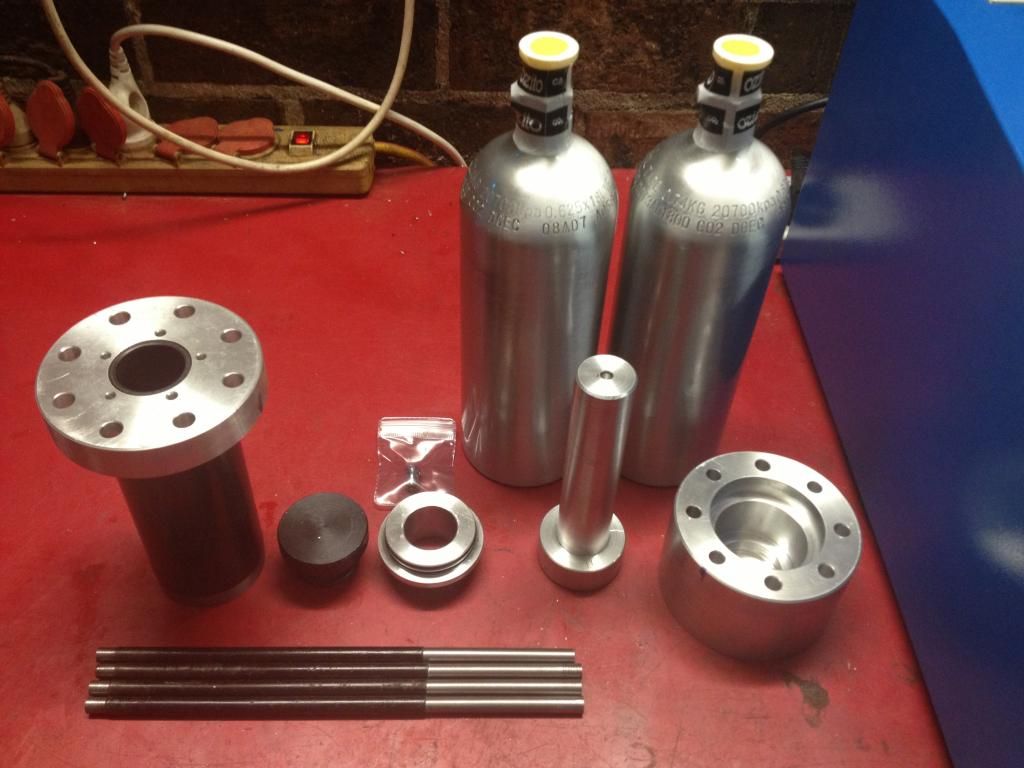
Liquid stopper. A bronze insert with a huge surface , this also gives the CO2 time and heat exchange surface.

Heatsinks. In Bullfrog I added a lot of ali fins to get more heat exchange surface, in the hope to "pull in" more calories from the outside.

Next thing to add in Bullfrog. Exhaust going out of the robot, to avoid chilling the insides even more than already is happening.

If this all doesn't help, I'm going to resort to only fill the bottles to 1.5 kg each, and not 2 kg.

Post Sat Jul 06, 2013 6:58 am 
 View user's profile Send private message Send e-mail Visit poster's website MSN Messenger
Glen
Experienced Roboteer


Joined: 16 Jun 2004
Posts: 9481
Location: Where you least expect


 Reply with quote  

awesome, some good info there. The buffer is inline and the tank to buffer line is 1/8 inch, a liquid stopper could be something for the future. Anyway, no time to waste, power building go.

Chucked up this big ole piece of aluminium and started boring the holes in there, have to remove about 1kg of aluminium from this (there's swarf in my everythings Sad ) The first bore is for the shuttle valve spring.


Next one is for the shuttle itself.


The final bore is the one the cylinder itself presses into. All this took about 5 hours. So much time! Really need a better boring bar and a proper bore gauge then this sort of work can be done way quicker. This is how it goes together. Spring in the bottom -


Shuttle on top -


Then the cylinder plonks on top of that and its all clamped in. So the theory goes Razz

Next job is to have the base end cap drilled out to match the top. I was going to use a lasercut jig again but i had some left over metal and made this plug that holds them both concentric. I'll drill them out tonight.


The plug will most likely get re-used as the gas manifold Razz Aluminium ain't cheap!
_________________
www.demon50s.com - Minimoto parts
http://www.youtube.com/user/HyzerGlen - Videoooozzz

Post Sat Jul 06, 2013 3:57 pm 
 View user's profile Send private message Send e-mail Visit poster's website MSN Messenger
maddox


Joined: 21 Dec 2006
Posts: 786
Location: Belgium


 Reply with quote  

To make the bores perfectly smooth for our use, I bought a set of these .

Post Sat Jul 06, 2013 10:43 pm 
 View user's profile Send private message Send e-mail Visit poster's website MSN Messenger
Glen
Experienced Roboteer


Joined: 16 Jun 2004
Posts: 9481
Location: Where you least expect


 Reply with quote  

Handy Smile I have a brake hone thatll fit in this one, but its already honed being a hydraulic tube, the base doesnt really need more too much honing i dont think as the shuttle valve moves like 10mm.

For the next ram that'll be all one piece aluminium will have to do that though.

Got the rest of it done anyway, too cold to keep going tonight lol. So much ram.


Start working out what to do for tie rods tommorow and finish the top bush as well. Hopefully i can start firing it off of low pressure this week Smile
_________________
www.demon50s.com - Minimoto parts
http://www.youtube.com/user/HyzerGlen - Videoooozzz

Post Sat Jul 06, 2013 10:58 pm 
 View user's profile Send private message Send e-mail Visit poster's website MSN Messenger
Glen
Experienced Roboteer


Joined: 16 Jun 2004
Posts: 9481
Location: Where you least expect


 Reply with quote  

Top bush/bumper done, its a funky little piece that goes in the main bore of the cylinder. The cylinder itself pushes in between it and the aluminium end cap. Hopefully it shouldn't crack or anything, it's about 12mm thick.

The full 115mm of stroke - Might eventually cut it down to 80mm for testing later on.


And all the bits, the tie rods are 9mm ones from the original hydraulic ram. The ends are turned to 8mm for an m8 thread. Still gotta buy a real die holder for the lathe and a die thats actually sharp lol. So many tools so little money...


Next job is put the o ring slots in the shuttle and piston. I will use the proper pneumatic seals later on to compare the difference. Probably wont recieve them in time anyway. Also have to go work out what fittings i need and ill drill them in the base, then this behemoth is done!

Just an entire rest of the robot to go Embarassed
_________________
www.demon50s.com - Minimoto parts
http://www.youtube.com/user/HyzerGlen - Videoooozzz

Post Sun Jul 07, 2013 6:41 pm 
 View user's profile Send private message Send e-mail Visit poster's website MSN Messenger
Jaemus
Experienced Roboteer


Joined: 01 Apr 2009
Posts: 2674
Location: NSW


 Reply with quote  

Very sweet
some lovely machining there
_________________
<Patrician|Away> what does your robot do, sam
<bovril> it collects data about the surrounding environment, then discards it and drives into walls

Post Sun Jul 07, 2013 9:02 pm 
 View user's profile Send private message Send e-mail MSN Messenger
  Display posts from previous:      

Forum Jump:
Jump to:  

Post new topic   Reply to topic
Page 93 of 115

Goto page Previous  1, 2, 3 ... 92, 93, 94 ... 113, 114, 115  Next

Forum Rules:
You cannot post new topics in this forum
You cannot reply to topics in this forum
You cannot edit your posts in this forum
You cannot delete your posts in this forum
You cannot vote in polls in this forum


Last Thread | Next Thread  >
Powered by phpBB: © 2001 phpBB Group
millenniumFalcon Template By Vereor.